The short answer is YES! The only extra step is taking out the seed by making a clean cut in the grape to push out the seed. Raisins, apart from being a delicious snack, are also easy to prepare. From using an oven to dehydrate the grapes to keep them under the sun, there are various methods you can use depending on the appliances you have available at your home.
Although there are various methods to make raisins with seeded grapes, all of them have one common step – taking out the seed. By making a sleek cut across the grape using a knife or puncturing it using a fork; if you do not want to use a knife, take out the seed. This step also helps quicken the process by making the juice within the fruit evaporate faster.
Another extra step you can follow is washing the grapes to remove the white waxy layer on the grapes. Although it is a harmless form of yeast and is safe for humans and grapes alike, it could be your personal preference to remove the layer. You can remove this white layer on grapes using a solution that is 1 part white vinegar and 3 parts water. Soak the grapes in this solution and wash off the layer. You can also use 1 tablespoon of salt and mix it up with half a bowl of running tap water to was the yeast off
One thing you shall know is that making raisins is an extremely long process. Although you’ll only have to actively work on them for a few minutes, the drying process which is left to the sun or the appliances takes anywhere between 12 hours to 5 days. However, the result of your patience would be sweet, quite literally.
Let us now look at the various methods you can use to make raisins with seeded grapes so you can get yourself some delicious, natural snacks.
Method 1: Drying the grapes under the sun
This is one of the easiest methods but on the other hand, you will have to wait for way longer to have your raisins prepared. This method requires some delicious fresh grapes, a tray big enough to keep your desired amount of grapes in it as they shouldn’t be touching each other to keep the air circulating, and a cloth to cover the tray while it is under the sun
Step 1: Put the grapes in the tray and cover them with a cloth
Make sure that the grapes are dry and are not touching each other. Cover the tray with a piece of cloth to make sure insects do not get into the tray. This can be done by lightly tucking the cloth under the tray.
Keep checking on the grapes at regular intervals to make sure no insects have entered the tray.
Step 2: Keep the tray outside during sunny, dry weather
Put the tray in your front yard or backyard under the sun after making sure that there is low or no humidity and the day is bright and warm. Temperature shall be at least 78 F.
If at any time the weather becomes cloudy or dew starts to form, you should take the grapes inside as dew on the grapes might lengthen the process considerably.
Step 3: Keep the grapes outside for 3 days
The grapes can take 72 hours or more depending upon how sunny the weather is to dry and turn into raisins. This also depends on how plump the grapes were, to begin with. You shall also keep rotating the grapes at regular intervals during the day to make sure that every part of the grape dries properly. Make sure that the grapes don’t turn too dry else the raisins would not be edible. Thus after 3 days, you shall consume the newly formed raisins to check if they need to be dried more. But do not leave them outside for more than 4-5 days.
Step 4: Store the raisins properly
Store the newly formed raisins in an air-tight container properly. You shall also refrigerate the container as we have used no preservatives, thus the raisins need to be stored properly.
Enjoy your sunkissed raisins as a topping or some healthy sweet snacking.
Method 2: Using an oven to make raisins
Usually while using methods other than sun-drying to make raisins, we need to have a dehydrator or an appliance that has dehydrator settings. However, you may use an oven to make delicious, fresh raisins.
We’ll need some boiling water, a bowl of ice, ovenproof plates and an oven of course.
Step 1: Break the skin of the grapes before putting them in the oven
Breaking the skin of the grapes helps the process of evaporating speed up considerably.
Put the grapes in boiling water and keep rotating them for a minute or two. After that, take them out carefully and put them in a bowl filled with ice and water for a couple of minutes after you notice the skin of the grapes has started to crack.
Step 2: Dry the grapes and put them on oven proof plates
Pat the grapes dry till you are sure they are completely dried up. Start putting them on the plates and make sure that all of them are distributed evenly and there is no overcrowding. Not ensuring this will result in the process of making raisins even more prolonged.
Step 3: Adjusting the oven and making the raisins
It is not compulsory to preheat the oven or apply any grease on it before putting in the raisins. Set your oven’s temperature to 170 F, which is one of the lower settings and put your plates full of raisins in the oven.
Make sure that the plates are spaced apart as circulation is very important. Leave the plates in for 12-18 hours and after equal intervals rotate the raisins so they are dried and shrivelled up evenly to obtain delicious raisins. Make sure that the raisins are dark and shrivelled up before you turn off the oven.
Step 4: Letting the raisins settle down completely
After around 12 hours, check if the grapes have dried down to raisins. If yes, then you shall turn off the oven and let them sit in for another 6-7 hours. Remember that over-drying the raisins will negatively affect the flavour so you should keep checking on them at equal intervals while the oven is turned on. Also, take necessary precautions as the oven would be turned on for an unusual number of hours.
Method 3: Using dehydrating methods to make raisins.
Now we should move to the dehydrating methods. If you have a food dehydrator then it shall be an easy run for you. Otherwise, you can also use appliances such as an air fryer which come with food dehydrating settings.
If you are using an air fryer, make sure the temperature is set at around 125 degrees Fahrenheit along with the dehydrator settings. You shall follow the steps below to make yourself some nice raisins.
Step 1: Washing the grapes and breaking their skin.
As mentioned above, you break the skin of the seeded grapes, not only to take out the seeds but also to ensure faster evaporation of the juice within the fruit. Thus, puncture the grape using a fork and take out the seed, otherwise, you’ll get some crunchy raisins.
Put the grapes in boiling water for around a minute. After that, take them out carefully and soak them in a bowl filled with ice and water for a couple of minutes and take them out after you notice that the skin has started to crack.
Step 2: Preparing the grapes for the food dehydrator.
Pat the grapes dry and make sure there is no moisture on the grapes. Start arranging them and putting them in the food dehydrator or your air fryer which has the food dehydration settings available. Set the temperature at 125 degrees Fahrenheit or a maximum of 150 degrees Fahrenheit.
Step 3: Leave the grapes in the food dehydrator for around 18-22 hours.
Let the grapes dry out in the food dehydrator for 18-22 hours. Periodically check on the grapes, rotating them to make sure the grapes shrivel up evenly for the raisins to have the perfect texture. Do not dry for too long as the raisins will become hard and in turn difficult to chew on.
Step 4: Store properly
It is very important to store your raisins in an airtight container which shall be refrigerated as we have not used any preservatives to have a very natural and pure experience of having homemade raisins.
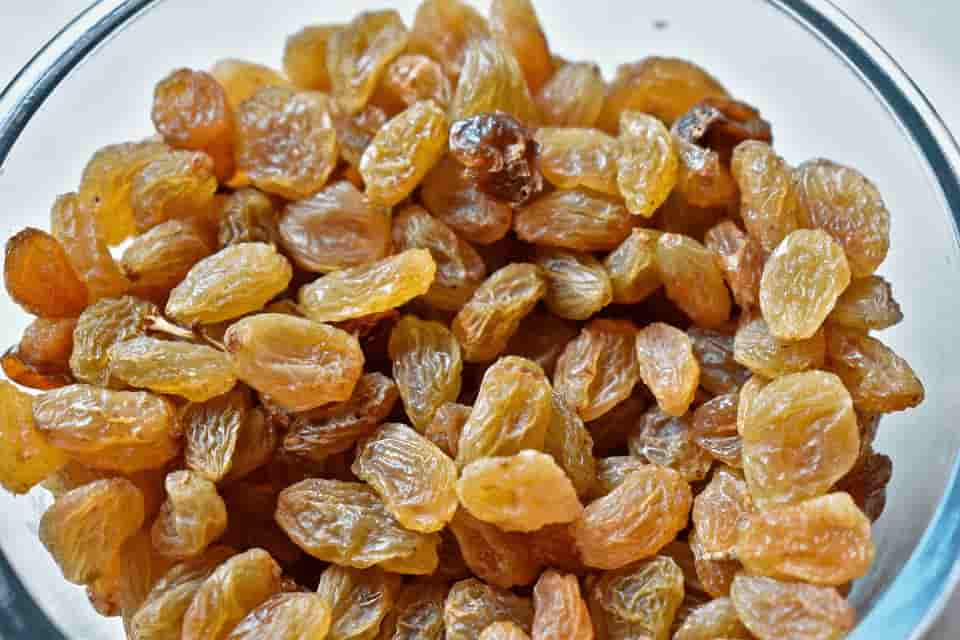
Raisins obtained through dehydration
I am Anand, and I am a business owner and consultant in my day job. I have spent years studying what’s inside the products we buy. ‘Feedrer’ is a wordplay on you-know-who and talks about all things food.